Right now I am working on a Bruce Willis bust for the ZBrush class I am attending at
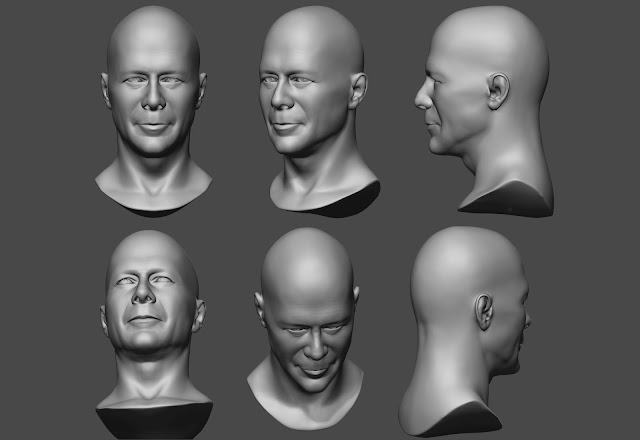
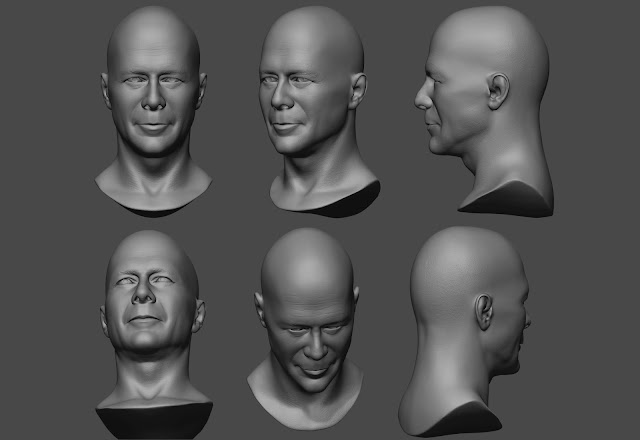
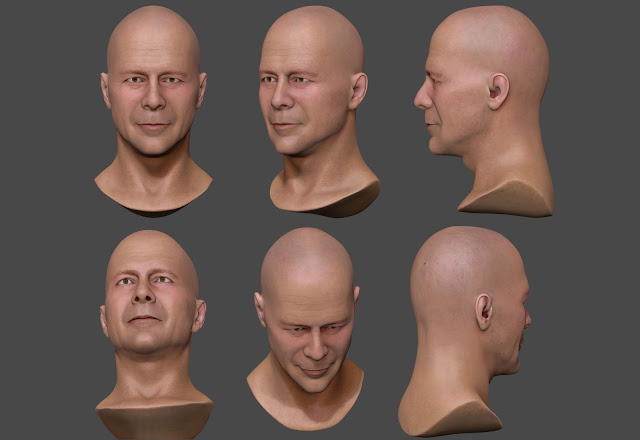
CG Protege. The bust is the project at the end of the class, so I want to create something decent for my portfolio. Here is the sculpt render at more or less final state (click for a larger image).
 |
| The (more or less) final sculpt |
I am rather happy with the model; I think I get some degree of resemblance. I spent around a month on the model, most of it spent tweaking details. Here is a series of snapshots of my process.
I (and all other students in the class) started with creating a base model in 3ds Max. I personally found this step the most uncomfortable step mainly because I had so many questions unanswered, such as:
- How square do the polygons need to be?
- What is the polygon count I am going for?
- What topology is good for sculpting? I cannot imagine a head model without a point shared by 5 polygons (instead of the ideal a point shared by exactly 4 polygons).
Perhaps this is what classes are for: just going in with best guesses and came out of the process with better guesses. So here is my base model.
 |
| The base model |
After sculpting on the base model, I find there are too many polygons on the model. I learned that the base model should be fast and easy to modify, so it should have low polygon count.
Topology-wise, I find the mouth problematic. There are too many polygons at the end of the lips (where the upper & lower lips meet) that I needed to spend time redistributing polygons while sculpting.
Another minor point is having a simpler topology for the ears. I thought topology will guide me during sculpting (which may be true for other people), but I ended up fighting the very topology I spent time creating.
 |
| The first draft |
I spent a week sculpting the first draft. Dmitry, the class instructor, pointed out that the resemblance was weak. It was hard to accept his feedback (myself at fault here); I needed a night to cool down. The three quarters view (the second one from the left on the image above), having the least "Bruce Willis" feel, helped me to convince myself that I could improve the model.
 |
| The second draft |
A week later I had this second draft. (I was also working on the texture in parallel.) I basically toughen up the look:
- I made the muscles in the cheek look as if he is grinding his teeth.
- Skull shape is now more squarish.
- Neck is wider; the clavicle bones are more defined.
- The brow is stronger/thicker.
At this point, I think I was concentrating to get specific angles right that I actually hurt the overall look. I got frustrated because the three-quarters view just did not get better.
In a coincidence, Jose, the drawing & design instructor at CG Protege (also a colleague of mine at
Tiny Island, so I got to know him from going to lunch together), dropped by and helped me with more feedback, mainly on the ways Bruce Willis head breaks the rule of ideal proportions, such as:
- His eyes are wide horizontally. If we draw a vertical line from the inner end of his eyes down towards the nose, the line ends up inside the nose rather than just touching the edge of the nose.
- His lip line is rather low from the bottom of the nose; around halfway between the bottom of the nose and the bottom of the jaw.
- His upper lip is very, very thin from front view.
- His forehead is especially large.
Jose also remarked that I over-detailed the jaw. While simplifying the jaw, I noticed that on side view, the lips end rather far into the head, around vertically down from where the eyes end. This fixed my three-quarters view problem and I was happy. (The moral of the story is to get to know people by going to lunch with them so they tell you how to fix your model :))
Right now I am fixing my texture because I realized rather late into the process that I put the eyebrows too high. I will post the update soon.
